When setting up your online store on Shopify, one of the crucial steps to consider is creating a collection page. the collection page allows you to categorize and group your products in a way that enhances user experience and boosts sales. We'll guide you in creating collections in your Shopify store in this document. This ensures easier customer navigation through your offerings.
What is Collection in Shopify?
In Shopify, a collection is a group of products that are categorized together. They help you organize your store and make it easier for customers to find what they want. Collections can be based on various criteria, including product type, brand, price, and time.
- Product type: Group all your t-shirts, mugs, or hats together
- Brand: Create collections for different brands that you sell.
- Price: Have collections for sale items, clearance items, or high-end products.
- Time: Create seasonal collections, holiday collections, or back-to-school collections.
How to Create Collections in a Shopify Store
Log in to your Shopify account and navigate to the admin dashboard. Locate and click on the “Products” option.
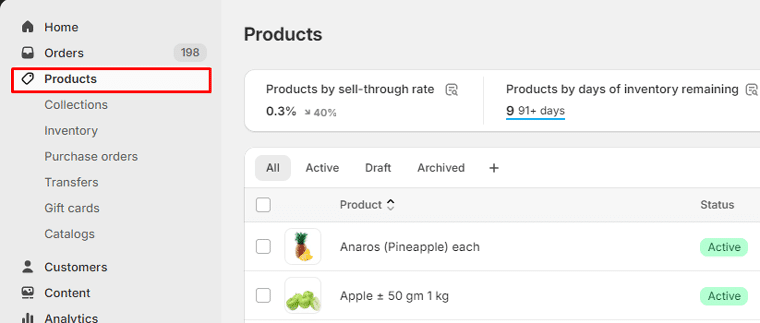
Under the product section, navigate to the “Collection” tab. Click on the “Create Collection” button.

Add your collection Title and description.

Choose Your Collection Type: You will find two options:
- Manual Collections: This type involves adding products individually to the collection. You have complete control over which products appear in these collections.
- Automated Collections: These collections automatically gather products based on predefined rules. Examples include collections of all sale items or all blue-colored products.
How to Add Products to Manual Collections in Shopify
After choosing the manual collection type, click on the “Save” button.

You will find a product section. To add products to your collection click on the “Browse” button.

Select the products that you want to add to your collection.

How to Add Products to Automated Collections in Shopify
When Choosing the Automated Collection Type You will find a condition option. Define the criteria for adding products to your collection. If you need to add more conditions, click on the “Add Another Condition” button.

After setting up the conditions, click on the “Save” button.

All products that match the conditions will be added to your collection.

Collection SEO Settings
Optimizing your collections for search engines is crucial for visibility and discoverability. Follow these steps to configure SEO settings for your collections:
Go to your collection setup page and Navigate the Search Engine Listing section. Click on the “Edit” button to open the SEO fields.

Enter your content for the search engine listing.

To save your configuration click on the save button.
Adding a Collection Image
On your collection setup page, locate the “Image” section on the right sidebar. Click on the “Add Image” button. Select a high-quality image that effectively represents the products in your collection.

After adding an image to your collection click on the Save button.
Collections Availability
Look for the “Publishing” section on the right sidebar on your collection setup page. Click on the “Manage” button

Check out the available Sales Channels and select where you want your collection to appear.

Video Tutorial
Conclusion
In summary, knowing how to set up and manage collections in your Shopify store is important for keeping your products organized, making it easy for customers to find what they need, and boosting your search engine rankings. You can either manually select the products for each collection or let automatic rules do the work based on your strategy.
It's also important to choose good names, descriptions, and images for your collections to improve search visibility. Using nested menus for subcollections can help with organization when needed. By creating and maintaining attractive and well-organized collections, you make shopping easier and more enjoyable for your customers.