In the fast-paced world of digital marketing, having a compelling online presence is essential for reaching your target audience and building brand awareness. One powerful tool at your disposal is a well-crafted blog, serving as a gateway to engage potential customers and promote your products effectively.
To truly make the most out of your Shopify blog, customization is key. In this article, we'll explore the importance of customizing your blog posts and how they can positively impact your brand promotion, customer conversion, and affiliate income.
Importance of Customizing Blog Posts:
Promoting Your Brand and Products
Customize your blog with a unique color scheme, logo, and typography for a cohesive brand identity. Enhance reader experience, reinforcing your brand message visually and making it memorable.
Converting Blog Readers into Customers
Optimize your Shopify blog layout with strategic call-to-action buttons, enticing product showcases, and engaging multimedia. Guide readers seamlessly towards conversion by customizing the design to highlight key features and promotions.
Boosting Affiliate Income
Tailor your content to seamlessly integrate affiliate links, banners, and promotional materials. Enhance income potential through affiliate partnerships by blending these elements within customized blog posts while maintaining authenticity.
Lead Collection:
Customize your Shopify blog to strategically include lead generation forms. Offer incentives like exclusive discounts or downloadable resources to encourage readers to share contact information, creating a steady stream of potential customers..
How to Customize Shopify Blog Posts
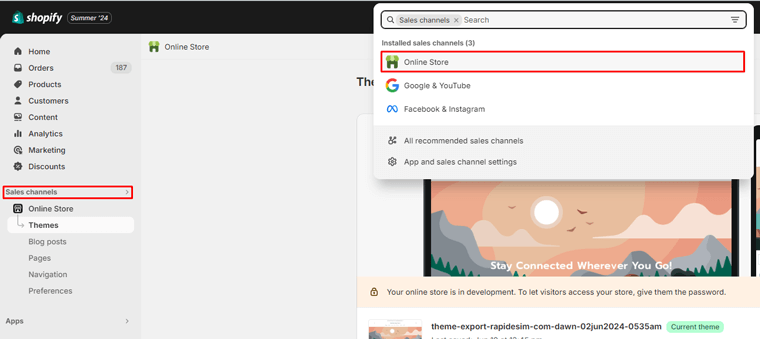
Step 1: Log in to Your Shopify Store. In the Shopify admin dashboard, navigate the sales channels and click on the “Online Store”.
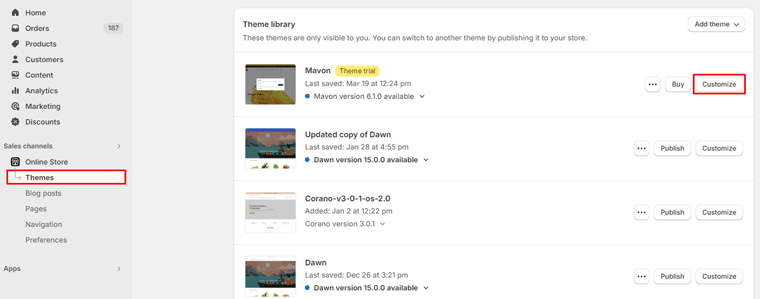
Step 2: Navigate the “Themes” option from “Online Store” to manage and customize your store's theme. Click on the “Customize” button to enter the customization mode for your selected theme.
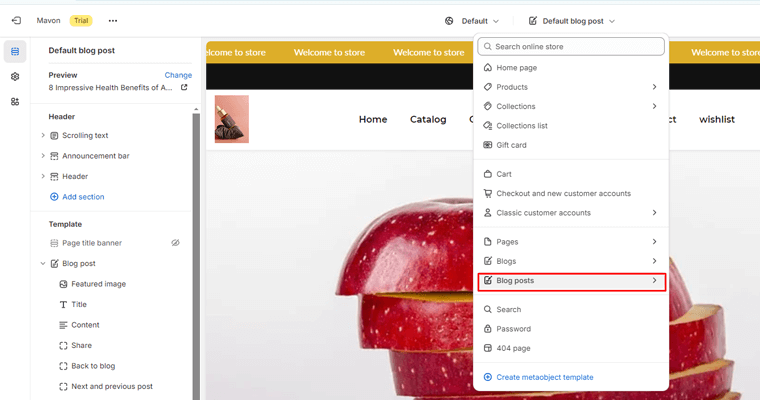
Step 3: Navigate to the customization top bar, and from the dropdown menu, select your “Blog Posts”.
Step 4: Customize your Blog Posts to align with your brand and impress your customers. Use the left sidebar to add new blocks, sections, or rearrange elements by dragging and dropping. On the right sidebar, you can customize the CSS for your page.
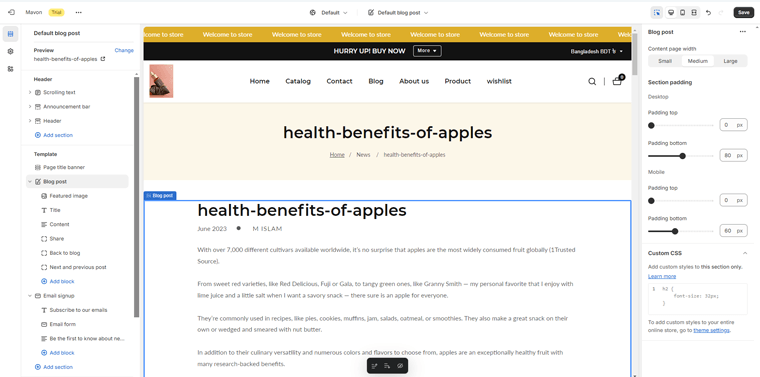
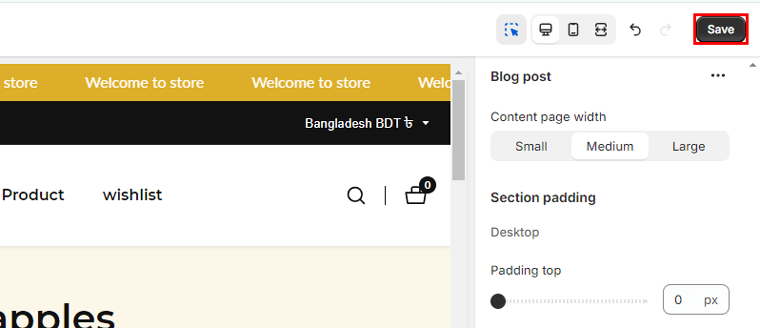
Step 5: After making the desired modifications, click on “Save” in the top-right corner to save your changes.
Conclusion:
Customizing your Shopify blog posts is a dynamic process that involves blending creativity with strategic elements. By implementing these tips, you can create a blog that resonates with your audience and drives meaningful actions. Don't forget to continuously analyze performance metrics and gather feedback to refine your customization strategies over time. Elevate your Shopify blog to new heights and make each post a compelling journey for your readers.