The Radio Field lets users select a single option from a predefined list. This is useful for yes/no questions, surveys, where only one response is allowed.
Step 1: Add the Radio Field to Your Form #
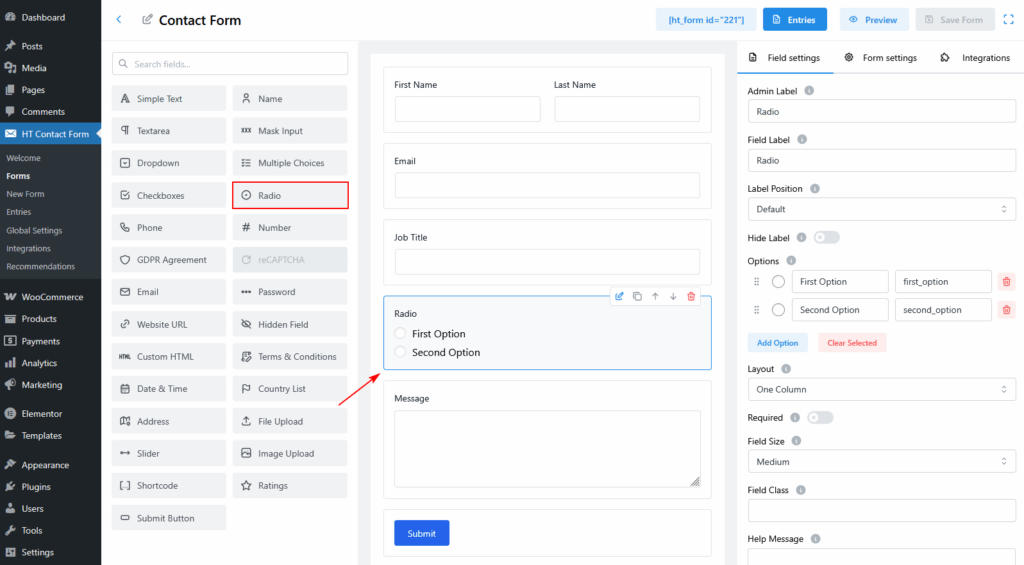
- Go to HT Contact Form > Forms.
- Click Edit on the form you want to update or create a new one.
- From the field list on the left, click on Radio or drag it into your form builder area.
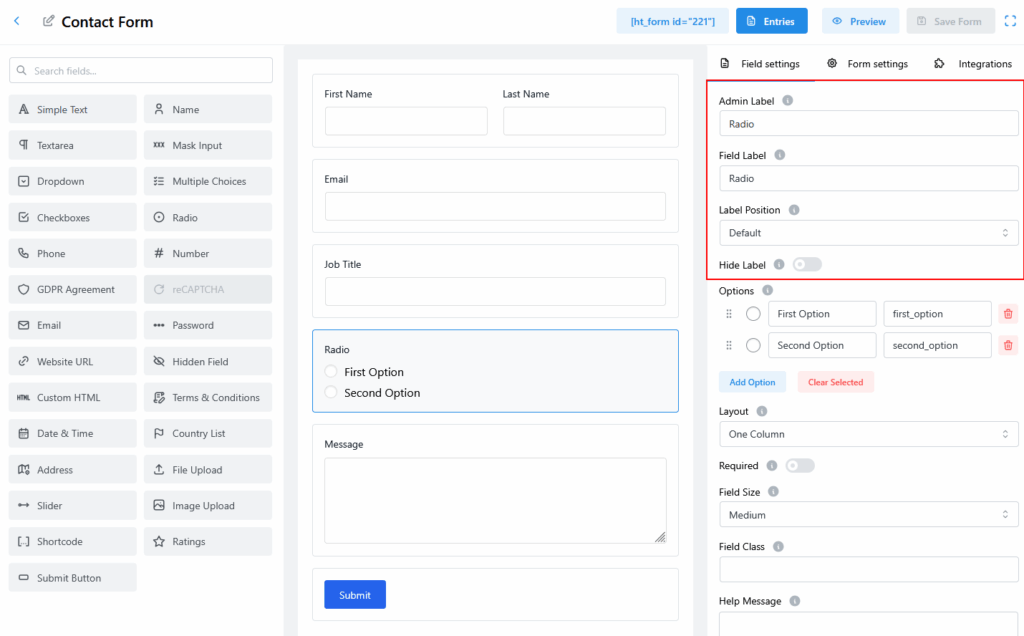
Step 2: Configure the Radio Field Settings #
Once added, click the radio field in your form to open the Field Settings on the right.
- Admin Label: Internal name for managing the form field (not visible to users).
- Field Label: This is the label that appears on the front end.
- Label Position: Choose where the label appears (Default, Top, Left, Right, etc.).
- Hide Label: Toggle ON if you don’t want to show the field label on the frontend.
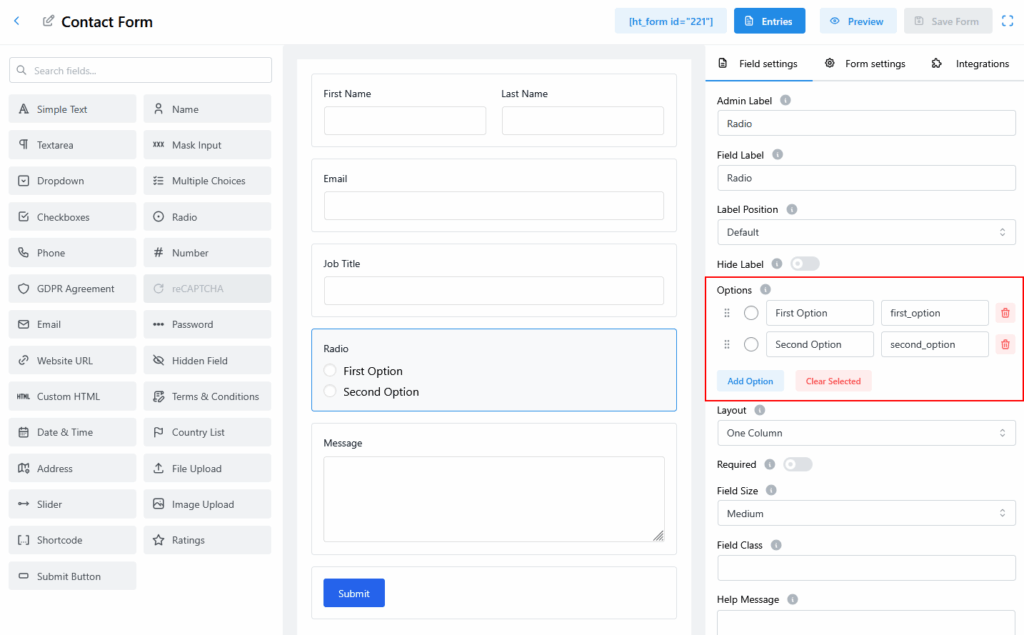
Step 3: Set Radio Options #
- In the Options section, type each choice and assign a unique value.
- Click Add Option to insert more options.
- Use the trash icon to delete any unwanted choices.
For example:
- First Option →
first_option - Second Option →
second_option
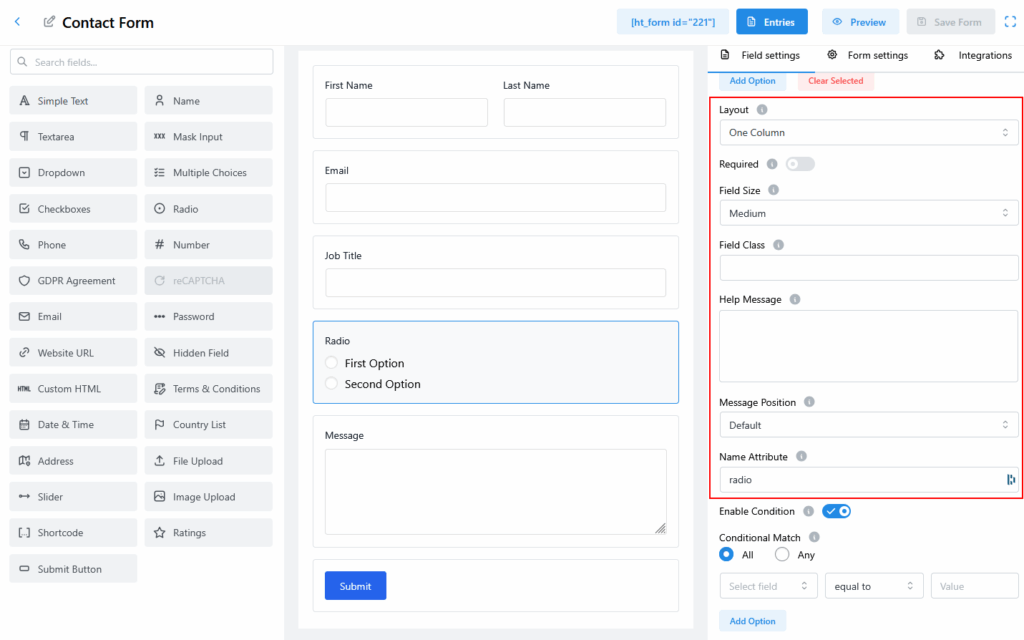
Step 4: Adjust Layout & Design #
You can customize how the field looks:
- Layout: One Column, Two Columns, etc.
- Required: Enable if the field must be filled out.
- Field Size: Choose from Small, Medium, or Large.
- Field Class: Add a custom CSS class if needed.
- Help Message: Add a note to guide users.
- Message Position: Choose where the help message appears.
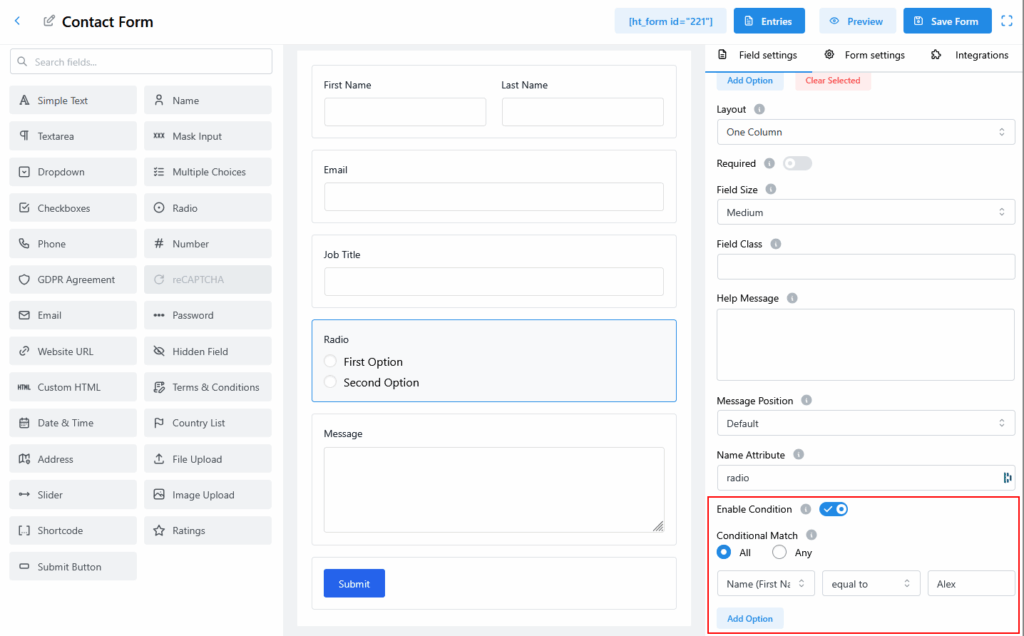
Step 5: Configure Conditional Logic (Optional) #
To show/hide this field based on user input:
- Toggle Enable Condition to ON.
- Choose All or Any under Conditional Match.
- Set your condition by selecting:
- A field (e.g., Name, Email, Job Title, etc.)
- A logic type (equal to, not equal to, greater than, etc.)
- A value (e.g.,
john,017..., etc.)
Example Condition:
Show this radio field only if the Name equals “Alex”.
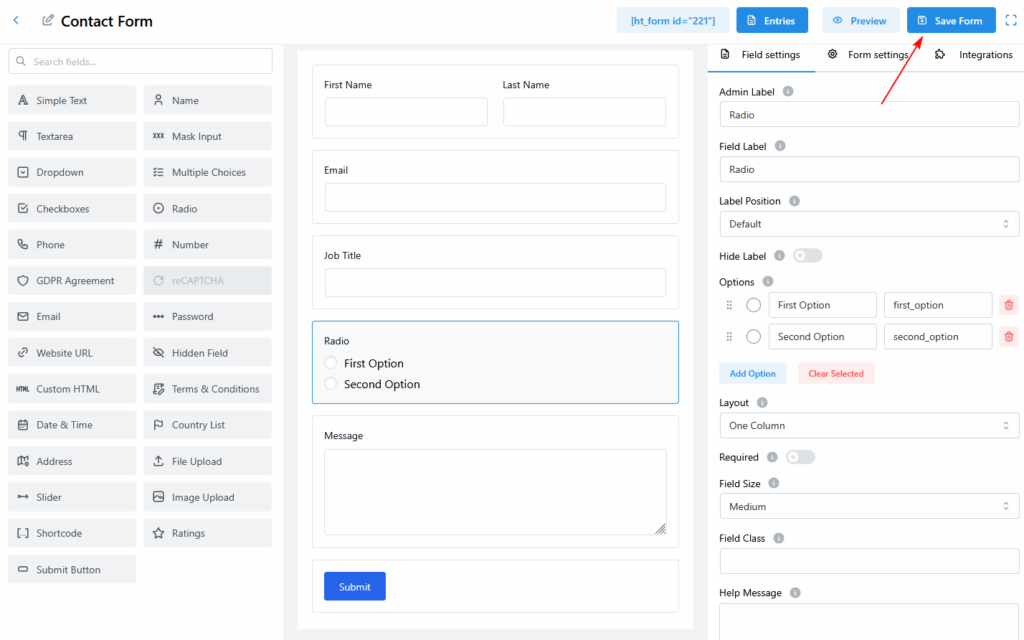
Step 6: Save Your Form #
After making all adjustments, click the Save Form button at the top-right to publish your changes.