The Custom HTML field allows you to insert formatted content, headings, or instructional text directly within your form layout. It’s ideal for organizing form sections, adding descriptions, or providing helpful guidance to users—without requiring them to fill anything in.
How to Add the Custom HTML Field #
- Go to your WordPress dashboard and navigate to HT Contact Form > Forms.
- Open an existing form or create a new one.
- From the Fields panel on the left, drag and drop the Custom HTML field into your form.
- Click on the field to access its Field Settings on the right-hand side.
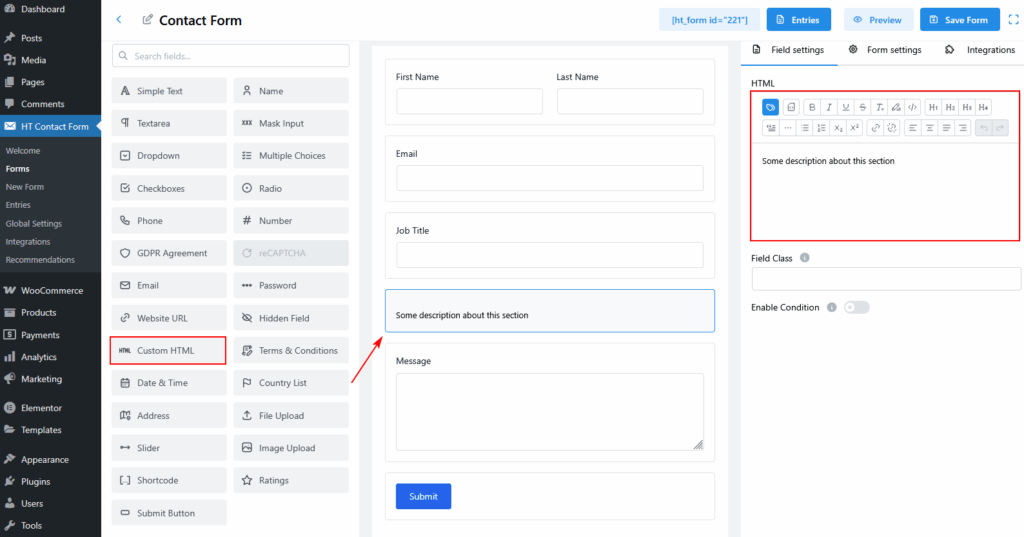
Available Settings #
- HTML Content
Use the built-in rich text editor to add and format content. You can apply bold, italic, underlined text, add lists, insert links, or use headings (H1–H4) to structure your message. - Field Class
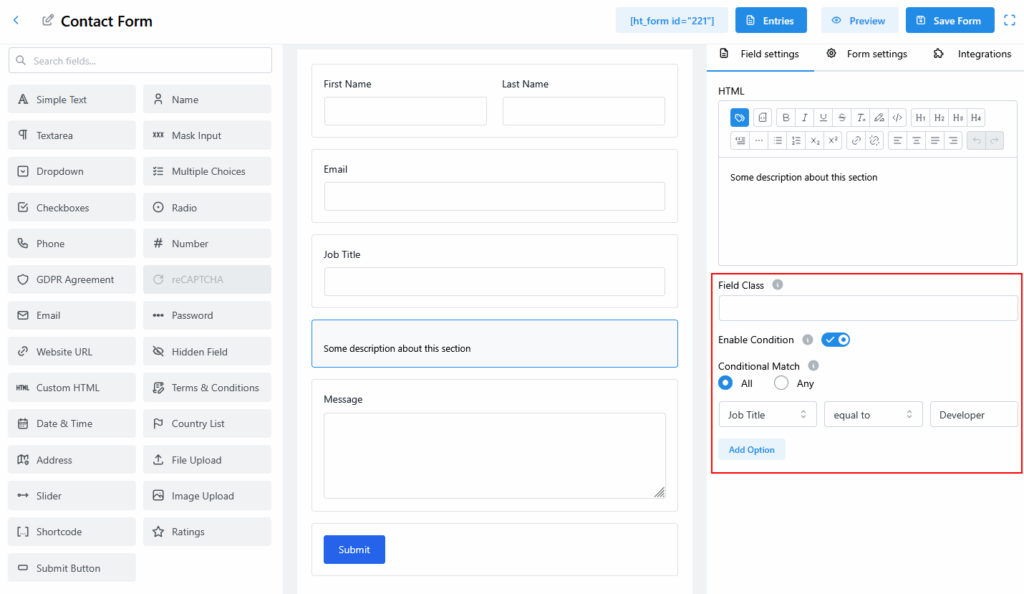
Add a custom CSS class to target this HTML block for additional styling. - Enable Condition
Toggle ON to control when this HTML block is displayed using conditional logic. - Conditional Match
- All: All defined conditions must be met to show the field.
- Any: Only one condition must be met.
- Conditional Rules
Set rules by selecting a related form field, a comparison operator (e.g., equal to), and a value (e.g., Developer). The HTML content will only appear when the condition is fulfilled.
Example Use Case #
Use the Custom HTML field to:
- Add a section title like “About Your Business”
- Insert a note such as “This section is optional”
- Display a message only when the user selects a specific value in a previous field
(e.g., show a reminder when Job Title = “Developer”)


