If you want to integrate Mailchimp with your contact form, the “Mailchimp Extension” could be an ideal solution.
Enabling The MailChimp Extension #
First, we'll see how to enable the extension. Just like other extensions, you can follow the same process to activate the “Mailchimp” extension.
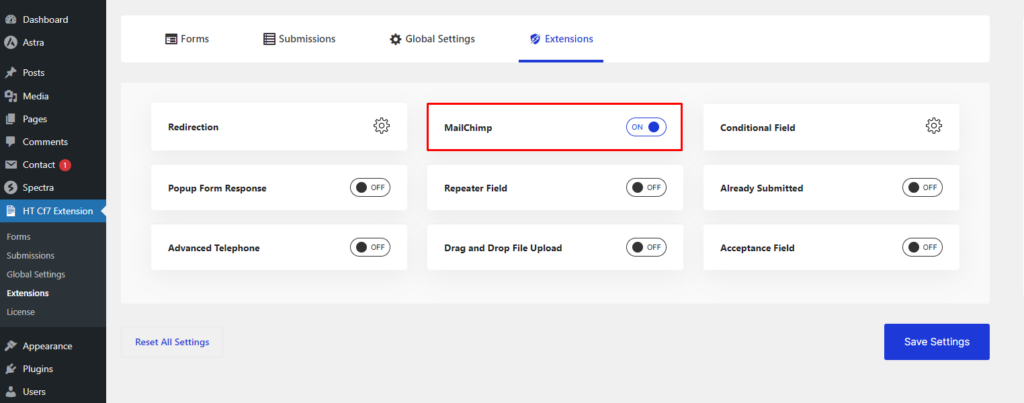
If you are logged in to your dashboard, start by visiting the “HT CF7 Extension.” Afterward, head over to the “Extensions” tab and locate the “Mailchimp” extension.
Next, turn the switcher option on to enable the extension and press “Save Settings.”
Set up the MailChimp integration with a form #
In this section, we'll walk you through a few simple steps for integrating Mailchimp with a form.
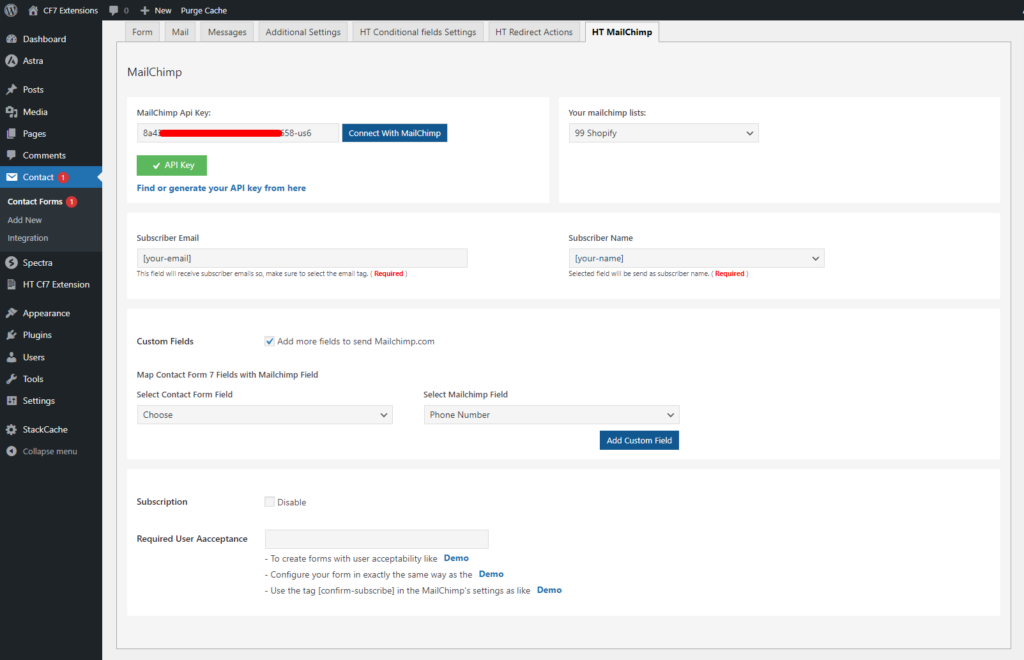
After enabling the extension, visit the settings page of the “Contact Form 7” plugin. If you take a look at the tab section, you will notice a new tab named “HT Mailchimp.” This is where you can set up the Mailchimp integration with one of your forms.
Let's get introduced to the options available inside the “HT Mailchimp” tab in the latter section. Before anything else, choose which contact form you want to integrate Mailchimp with.
MailChimp API Key #
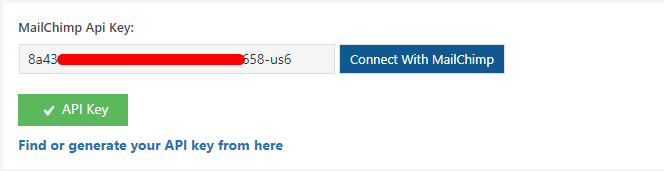
The first field you see here is for connecting the “Contact Form 7” plugin with Mailchimp. To do so, here's what you need:
Find or generate an API key from your Mailchimp account, insert it into the field, and click “Connect with Mailchimp.”
For your convenience, please refer to the doc below and learn how to generate a Mailchimp API key:
https://mailchimp.com/help/about-api-keys/
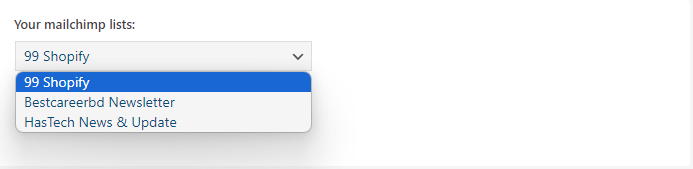
Your Mailchimp Lists #
If you have already created any lists under a Mailchimp API key, this option will display them in a dropdown option. From here, you can select the list where you want to store the Mailchimp data.
MailChimp Subscriber's email, name & custom fields #
If you scroll down a bit, you will notice a few fields, which will receive different data from the subscribers. Therefore, be sure to insert the correct tag for each field.
For instance, to receive a subscriber's email, insert the email field name that you have used in your contact form. The same goes for other fields.
Furthermore, you can add custom fields if you need. To do so, you need to check the box that says “Add more fields to send Mailchimp.com” first. Once you check the box, you will find options to add customer fields.

Subscription and Required User Acceptance #
If you want to disable the Mailchimp subscription, head to the “Subscription” field and check the box saying “Disable.”
Next is the “Required User Acceptance” field, using which you can make it required for Mailchimp to receive user consent before receiving any data.
To achieve this, here is what you need to do:
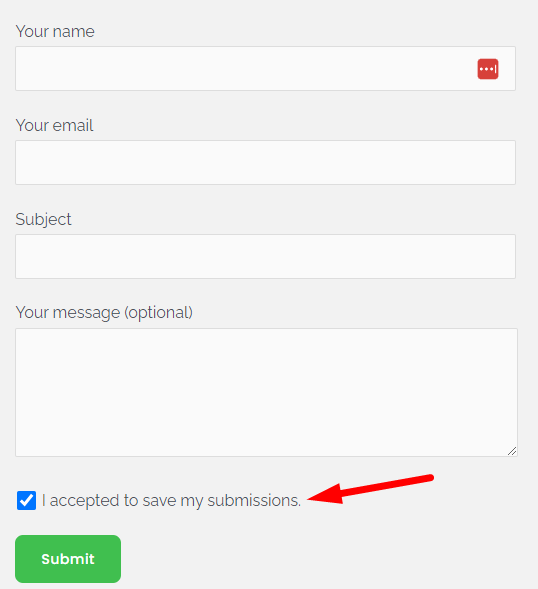
- Create and configure an acceptance field in your contact form.
- Copy the tag name used for the acceptance field and insert it into the “Required User Acceptance” field.

After add the Acceptance Tag name on the required user acceptance file, you can see the user permission field before Submit the form.
Once you add the acceptance field tag name to the “Required User Acceptance” field, you will see a contact form like the following. This will ensure Mailchimp requires user consent before receiving any data.