“Extensions for CF7” allows users to add a drag-and-drop file upload field to their contact forms. With this feature, you can add an option for your visitors to upload a file or an attachment via drag and drop.
Enable The “Drag and Drop File Upload” Extension #
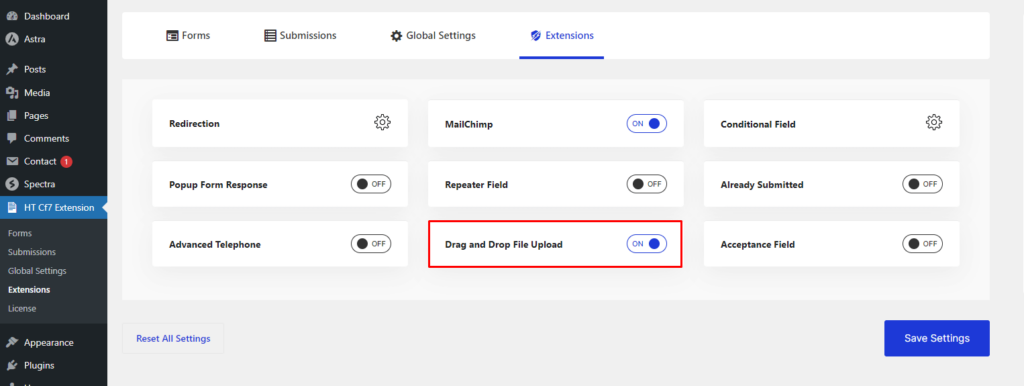
To enable the “Drag and Drop File Upload” extension, go to your dashboard and navigate to the “HT CF7 Extension” menu.
Afterward, open the tab called “Extensions“. There you will find a switcher option to enable the “Drag and Drop File Upload” extension.
If you need a drag-and-drop file upload field in your contact form, turn the switcher on and save the settings.
The “HT Drag and Drop File” Option displayed on the Form #
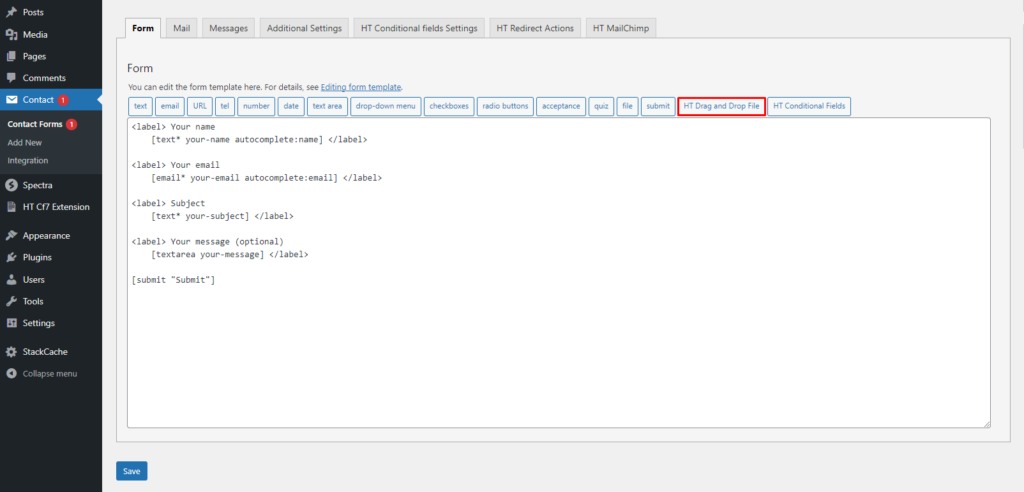
After enabling the extension, when you create or edit a contact form on your website, you will notice a new tag named “HT Drag and Drop File“. Now, you can insert the tag anywhere on your contact form. It will include a drag-and-drop file upload field over there.
Introducing the options to configure the “HT Drag and Drop File” tag #
When you click the “HT Drag and Drop File” tag, a popup will appear where you can set up the necessary options before adding a drag-and-drop file upload field.
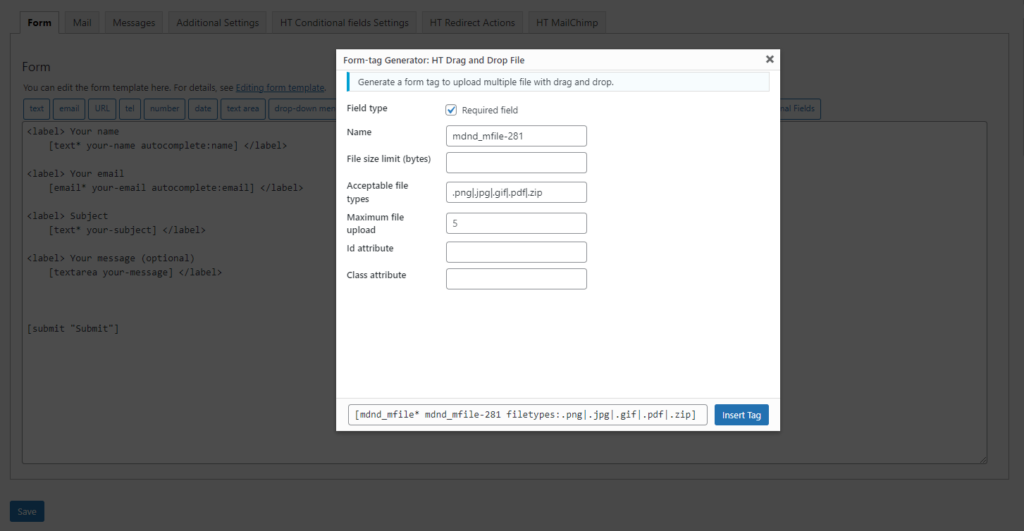
- Field Type: This option allows you to choose whether visitors are required to fill out the field.
- Name: Set a unique name for the field.
- File size limit (bytes): Set a limit for the file size in bytes.
- Acceptable File Types: Specify the file types/extensions that your contact form will accept. Please be sure to separate the file types/extensions by using a pipe ( | ) sign. For instance, .zip|.txt|.png
- Maximum File Upload: Limit the number of files that a user can upload while submitting the form.
- ID Attribute: If you want to add an ID attribute to the field, insert a unique ID.
- Class Attribute: If you want to add a class attribute to the field, insert a class name.
Finally, click “Insert Tag” to include the field in the form.
After Inserting the “HT Drag and Drop File” tag #
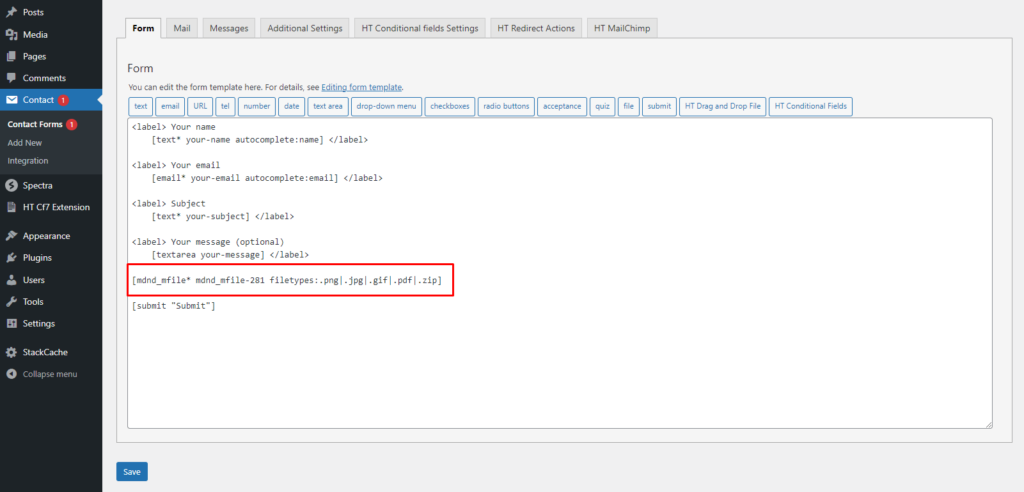
After configuring the tag, it will appear like the following in the form.
After completing the setup of the Drag and Drop File Extension #
As you can you here you can upload files that you allow to the Acceptable File Types filed. So user are not able to upload unnecessary file.
When you visit the front-end of your website, you'll see that a new upload field has been added to your contact form. With this field, your visitors can easily upload files based on prior configuration.


