Install and Activate the free version #
You can effortlessly install and active the “Extensions for CF7” plugin from your WordPress dashboard.
First, log in to your WordPress dashboard as an administrator. Now, to install a new plugin navigate to the “Plugins” menu and click “Add New“. Afterward, type in the plugin's name in the search box to find the one developed by HasThemes. Here is a short video tutorial for better understanding.
Download, Install & Activate the Pro version (Including license activation) #
Download the Pro plugin file #
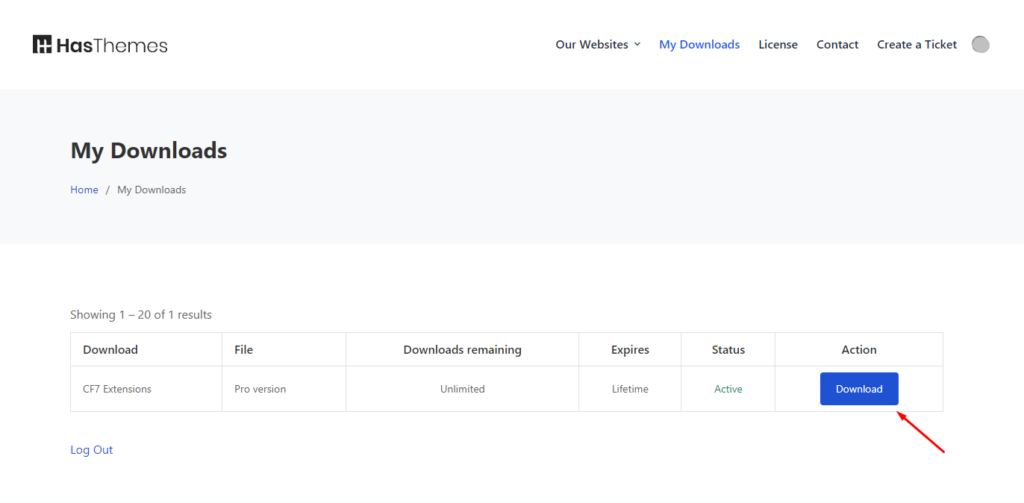
To download the plugin file for the premium version, log in to your customer portal account at https://portal.hasthemes.com/
Once you have logged in, go to the “My Downloads” page. This is where you will find the downloadable file(s).
You can also manage your licenses from the “License” page.
Install & Activate the Pro plugin #
After you have successfully downloaded the plugin file from your client portal, go to your WordPress dashboard and click the “Add New Plugin” under the “Plugins” menu.
Next, click the “Upload Plugin” and it will prompt you to upload the plugin file. You can either choose the plugin file from a location on your computer or simply drag and drop it. After uploading the plugin, click “Install Now” to begin the installation process. When the installation is completed, be sure to activate the plugin.
Activate the License #
Now that you have installed and activated the pro plugin, it's time to activate the license key you received when you made the purchase. You can find the license key on the “License” Page of your customer portal. Activating the license key is important as it allows you to receive automatic notifications about all the plugin updates.
System Requirements #
- WordPress 5.0 or Higher
- PHP version 7.2 or greater
- MySQL version 5.6 or greater OR MariaDB version 10.0 or greater
Recommended PHP Configuration Limits #
If the PHP configuration limits of your host are set to low, you may run into issues such as the white screen, demo content failing when importing, empty page content, and other similar issues. The solution is to increase the PHP configuration limits. You can do this on your own, or contact your web host and ask them to increase those limits to a minimum as follows:
- max_input_vars = 3000
- memory_limit = 128M
- max_execution_time = 300
- max_input_time = 300
- upload_max_filesize = 64M
- post_max_size = 64M


